It’s Retiring List Time Again!
Annual Catalogue ends on 30th June.
Hundreds of products have just weeks left
– and are now only while stocks last!
Loads of discounts – 25%, 40% and even 50%!
If you’re in Australia…

Star Tree
Wood (126784) WAS $16.95 NOW $10.17
THAT’S 40% OFF!

And don’t forget that the Seasonal Catalogue is finishing at the end of June too!
Although some products will be available in the new catalogue many won’t – but these products won’t be on the retiring list!
Click to view online
Cheers
Genna
Back from Brisbane Convention
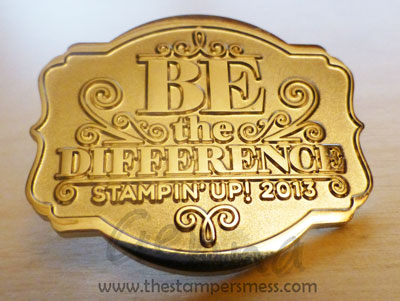
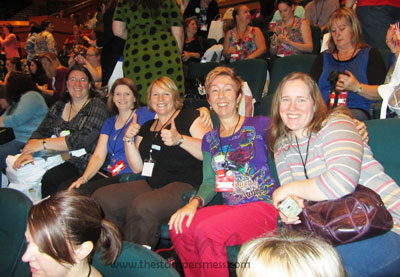
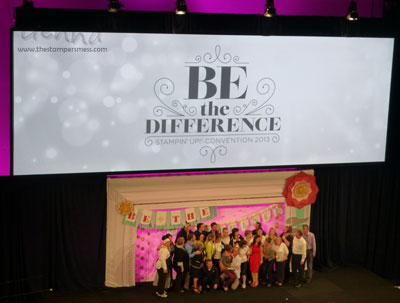
Wow what a jam-packed few days that was! The Stampin’ Up! annual convention is always a blast for so many reasons and Brisbane certainly delivered this year. It was four days of complete stamping indulgence! There were classes, presentations, dinners, awards, product playground, workshop wows, swaps, friends, hugs, goodies and exciting news galore. Here’s a whirlwind tour of my time at my fifth Stampin’ Up! Convention.
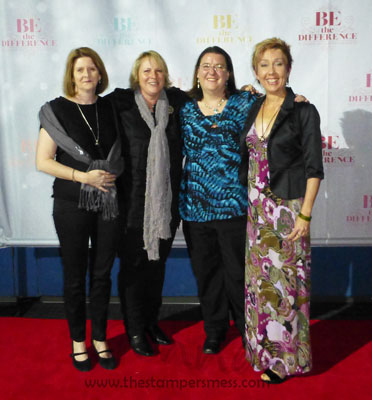
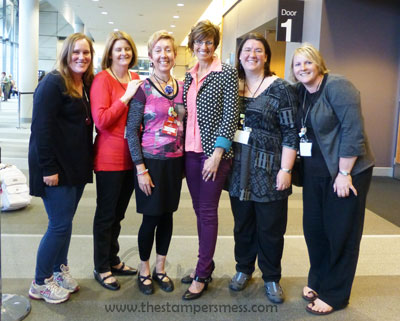
First, meet the wonderful bunch of ladies I shared it with…
L-R: Me, my team members Teena Pillar, Jodie Griffith & Linda Perrins, and my very good friend and long-time convention buddy Ros Davidson!
DAY ONE
A ridiculously early start and a flight up to Brisbane got me there just in time for the add-on Leadership part of convention where we got to spend a bit of time with the US staff that come over from head office and heard all about the business side of things- achievements, goals, priorities, challenges, etc.
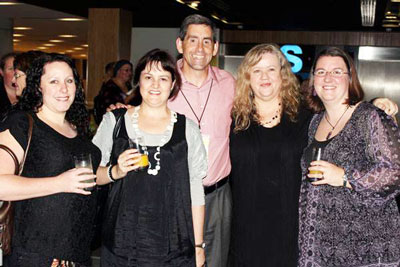
This is Miriam Thomas, Sue Maddex & Claire Daly, some fellow-leader friends from my wider team, and Stampin’ Up! President Rich Jutkins
(Thanks for the photo Claire!)
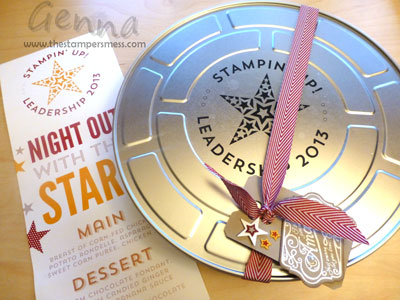
We had some classes on coaching and problem solving and then headed up to the Sky Terrace for a Movie Star themed Manager’s dinner.
They even had our names scrolling up in lights and gave us themed gifts.
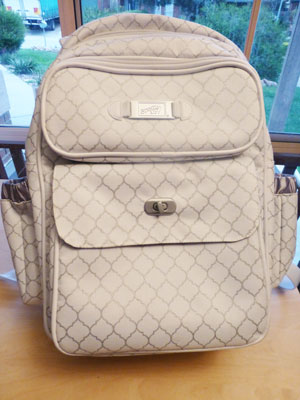
We also got to pick up our fabulous Convention bags full of goodies including two brand new stamp sets! I’m not sure me and white are a good combination but I love the design!
DAY TWO
Another early start so I could beat the crowds by ducking into the VIP session of Memento Mall! This is a highlight of Convention for me where we get to purchase Stampin’ Up! themed products that aren’t available elsewhere. There were bags, watches, charms, display items, stationery items, and even a hammer!
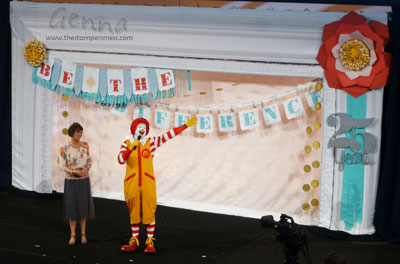
And then it was off to a frenzied round of card swapping before the first General Session full of news, demonstrations, giveaways and prizes. One of the most exciting pieces of news came from an unlikely source – Ronald McDonald! He dropped by to celebrate that Stampin’ Up! is now a supporter of Ronald McDonald House Charities in Australia and that we will have an exclusive stamp set in our new catalogue that will carry a $3 donation for every stamp set sold. Keep an eye out for more on that one!
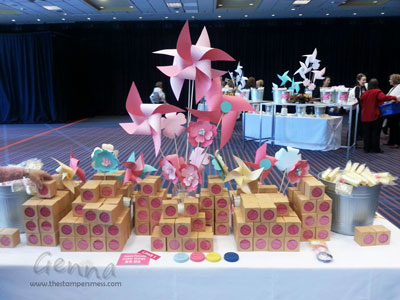
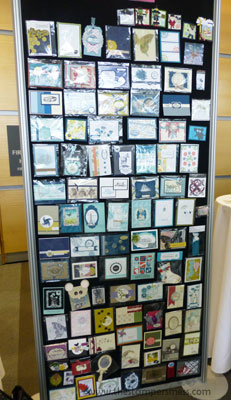
We then had the chance to explore the Product Playground and experiment with some of the upcoming new products – a rotary blade for the trimmer, a magnetic platform for the Big Shot, Simply Pressed clay and more! And we also got the chance to browse the swap boards!
Mine is on this board somewhere!
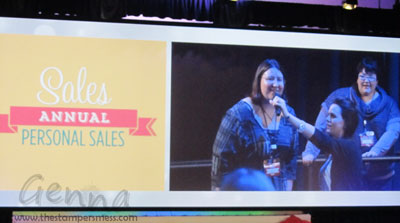
We finished off the day with more presentations, prizes and awards. We went home that day with more new stamp sets, a new colour coach, a copy of the new catalogue, and a couple of kits. They really were determined to celebrate their 25th anniversary in style!
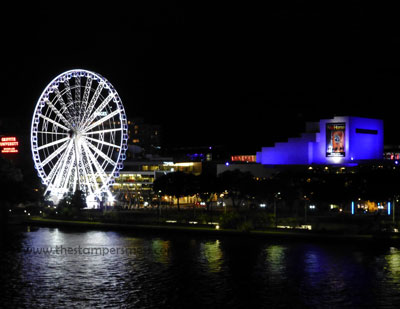
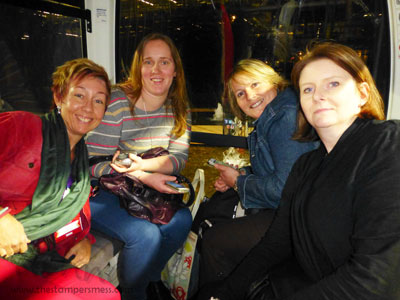
Despite the long day, we even managed to fit in some brief sightseeing with a trip up the Brisbane eye! It helped that it was happy hour and it was right outside the Convention Centre!
Can you guess which one of us wasn’t so keen on being up so high?
DAY THREE
We had a very long day filled with demonstrations, classes and creating before getting dressed up for the Annual Awards night and After Party.
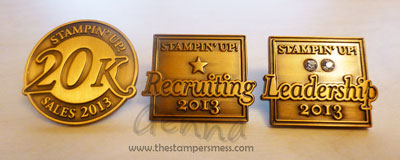
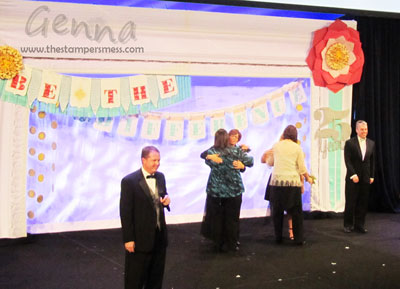
I had already walked the stage and received awards the day before for Level 1 Sales, Level 1 Recruiting and Level 2 Leadership but at the Awards night I got to go up and receive recognition – and a lovely bouquet – for achieving the incentive trip…A Grand Vacation to Utah in July.
That’s me hugging Shelli in the middle!
This was sooooo exciting and terrifying all at once. For the other awards I just gave my name and walked across the stage, for this one I had my name announced and was greeted with hugs from Shelli Gardner, the CEO and cofounder of the company, and the heads of Stampin’ Up! in Australia and New Zealand. It was a different experience entirely!
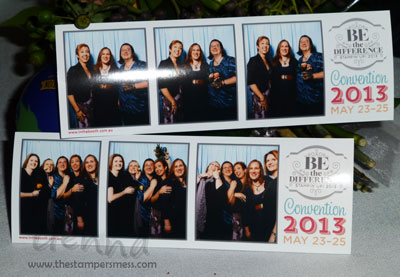
And the After Party was a hoot! It was so much fun to share everything with some of the amazing ladies in my team!
DAY FOUR
The final day of Convention brought more classes, demonstrations, presentations, inspirational talks and even more giveaways!
I finished the day with a photo of me and my charming companions and Shelli herself. I was exhausted, elated, inspired, motivated and so full of new ideas to think about and try out I could barely think straight! Usually that would be enough to last a year but this year I’m going to get to do it all again at the US Convention in Salt Lake City and it’s only weeks away!
Finally, after the intensity of it all I managed to add a couple of extra days to my trip to see a bit of Brisbane – it was my first time there – and catch up with some family there. It was lovely and relaxed and the sun was shining and it felt like I had a whole extra holiday.
I actually arrived home far more relaxed and ready to go than I ever have from convention before. I’ll have to remember that for the future.
Cheers
Genna
P.S. Big thanks to Linda Perrins for some of the photos!
I’m off…to the Stampin’ Up! Convention
I’m so excited to be heading off to Brisbane today. The Stampin’ Up! Annual Convention is one of the highlights of my year! Four days of complete stamping indulgence and then a couple of extra days so that I can see something of the city other than the Convention Centre. It’s my first ever time to Queensland (other than a brief visit when I was a baby), which is a bit sad really considering all the other parts of the world I’ve seen. But that will be rectified very, very soon.
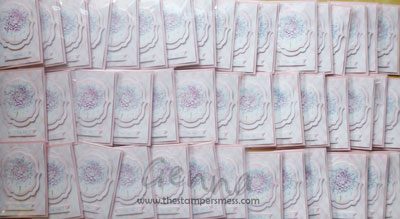
And, I’ve actually got all my swaps completed and ready to go. In advance! Not being hurriedly finished at the last minute or being taken with me to finish when I get there. Actually finished. Wow, that’s not like me! And here’s the proof:
I think there were about 44 in the end but I lost count. I used a design I made for a class last year so that took some of the pressure off. And I did most of the work while at my market stalls over the weekend and that helped too.
In case you’re wondering, every time a group of demonstrators get together we do a swap of card fronts. We make a whole load of the same design and get back a whole load of different ones. It’s amazing to see all the fabulous ideas everyone else comes up with and often in styles very different from my own. I’m so looking forward to seeing what I get!
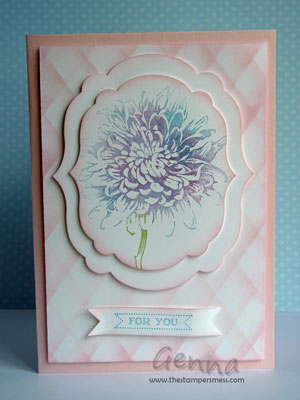
Here’s a closer look at mine:
I used the Blooming With Kindness stamp set and the faux pillow-top technique for the background. I love the softeness of the look and the way the flower pops.
I’ll be back again as soon as I can with a report from Convention and I look forward to sharing with you all the ideas, inspiration, tips and techniques I’ll be treated to while I’m there.
And wish me luck for Awards night. I’ll be getting three awards so will have to walk the stage three times, maybe even four if they bring us up for achieving the Incentive Trip to Utah. I love that I achieved the awards – in sales, recruiting and leadership – and I’m very proud of it but getting up on stage makes me very very nervous! Am I the only one who feels excited and terrified in equal measure at times like that?
Cheers
Genna
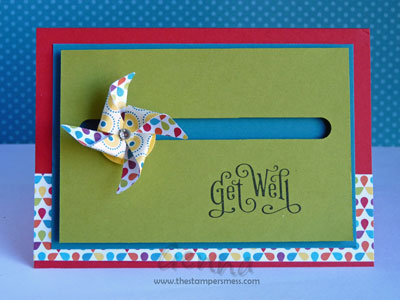
Pinwheel Die Spinner Card
This month at my 3D Template Stamp Club we made a Spinner Card.
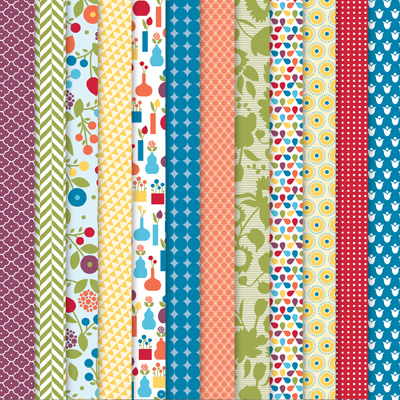
These are fun, interactive cards that you just can’t put down. For this one I used the Pinwheel Die from the Seasonal Catalogue and paper from the Summer Smooches DSP.
I decided to make it a Get Well card (using Perfectly Penned) because I could imagine giving it to someone in hospital who might play with it to pass the time.
The spinning mechanism is made by making a sandwich out of coins and dimensionals and cutting a track in the card for it to run on.
The way it spins is something that has to be seen to be believed so I’ve made a very short little video to show you:
Pinwheel Sizzlits Die (129411) $8.95
Summer Smooches DSP (125409) $18.95
Perfectly Penned – Wood (125014) $28.95 or Clear (122892) $22.95
If you’d like to learn to make project like this one, consider joining one of my Stamp Clubs.
Cheers
Genna
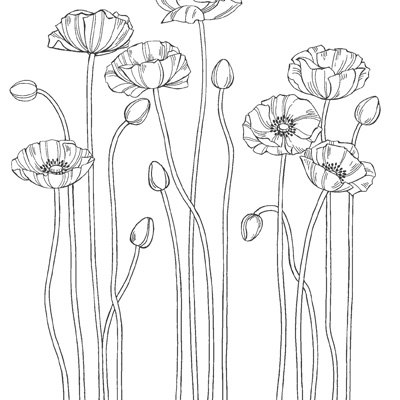
Pleasant Poppies for Mother’s Day
This stamp didn’t grab me when I first saw it but I started seeing some really striking things made with it and it quickly grew on me. Now I can see so much potential for the things I’m going to make with it. It’s strange how sometimes you know immediately that a stamp set is for you and other times you need to see it in use before it jumps out at you. This one is a single large background stamp called Pleasant Poppies.
Pleasant Poppies Wood $30.95 or Clear $24.95
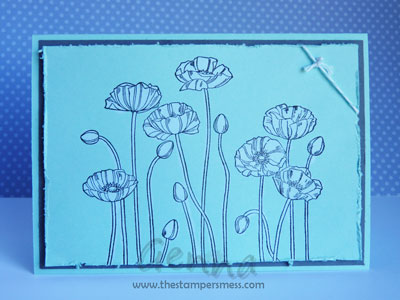
The first time I used it I stamped it on Pool Party cardstock and bleached it. I’d intended to colour it in with crayons afterwards but I really liked the simplicity of the two-tone look so I left it plain and simple.
THE PRINTABLE PHOTO RECIPE CARD IS AVAILABLE TO MY NEWSLETTER SUBSCRIBERS. Subscribe for free today and let me know you’d like this one.
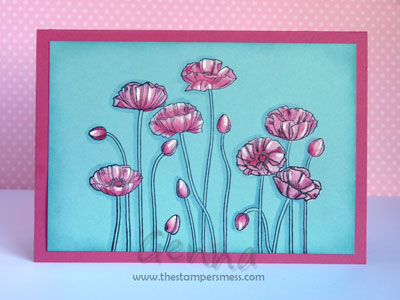
But I still wanted to try out colouring it so I tried again, this time on Baja Breeze cardstock. This bleached the image back to white so it was really easy to add the colour back in. And those final highlights with the white gel pen really make this one.
THE PRINTABLE PHOTO RECIPE CARD IS AVAILABLE TO MY NEWSLETTER SUBSCRIBERS. Subscribe for free today and let me know you’d like this one.
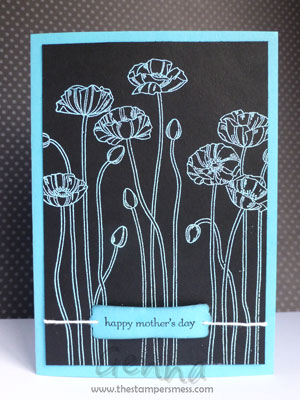
I knew my mum would like the poppies – she’s a flower person but not a floral one if that makes any sense. She definitely appreciates flowers but her tastes aren’t traditional florals. So I set out trying to come up with a design for her Mother’s Day card using this stamp set. I was really thrilled with how the coloured embossing on black turned out. Simple yet striking and just the look I was after.
THE PRINTABLE PHOTO RECIPE CARD IS AVAILABLE TO MY NEWSLETTER SUBSCRIBERS. Subscribe for free today and let me know you’d like this one.
If you like what you see, please leave me a comment and let me know.
Cheers,
Genna
Topsy Turvy Celebrations for a Princess
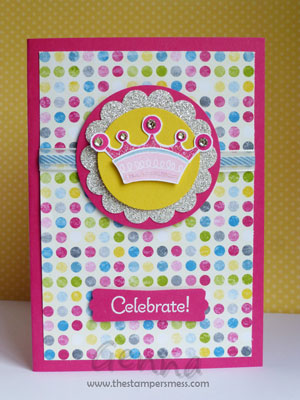
I needed to make a 7th birthday card for my niece recently and realised I was lacking in pretty little girl images. Olivia is a definite girly girl and we had a Disney Princess present so it had to be something pink and girly. I had plenty of flowers and butterflies to choose from but I just couldn’t make them work this time. And because I’ve only got boys, the whole girly thing was feeling a bit out of my comfort zone.
And then I remembered Topsy Turvy Celebration!
 Topsy Turvy Celebration Wood $30.95 or Clear $24.95
This cute little set has multiple pieces that are designed to go together in all sorts of topsy turvy ways! You can make a cake or a skirt or a…crown!
THE PRINTABLE PHOTO RECIPE CARD IS AVAILABLE TO MY NEWSLETTER SUBSCRIBERS. Subscribe for free today and let me know you’d like this one.
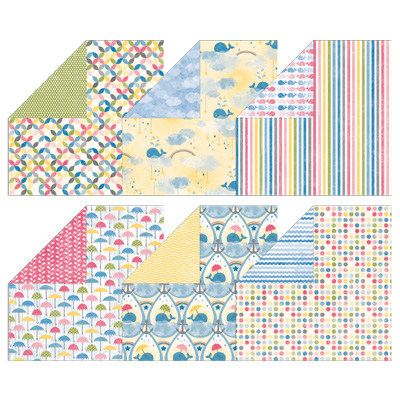
And I also got to use the lovely bright papers from the Seasonal Catalogue – these have to be seen in real life to really appreciate how gorgeous they are.
Sunshine & Sprinkles DSP $18.95
I hope she liked her card – like any excited birthday girl she was a bit to caught up in the presents to give it much attention on the day.
Cheers,
Genna
Scrapbooking with MDS
I’ve always loved the idea of scrapbooking and I’ve enjoyed it when I’ve done it but I’ve resisted the urge to do too much because I’m afraid I’ll get addicted and find myself scrapping at every opportunity – or bemoaning the fact that I don’t have time to do it. But…now I’ve found My Digital Studio, there’s just no hope. I’m hooked!
This is my first ever digital scrapbook page. And I love it. I love the page. I love the reaction I get when people see it. And I loved making it! I loved that it wasn’t messy and that I could quickly undo mistakes or change my mind. I love that I could do things like ‘stamp’ the words half on and half off the photo. I loved that I had access to stamps and images that I don’t have as real life stamp sets or that have retired. I loved that I could get the look of stitching without having to sew. I especially love that it’s so easy to post on Facebook, send in an email and SHARE IT!
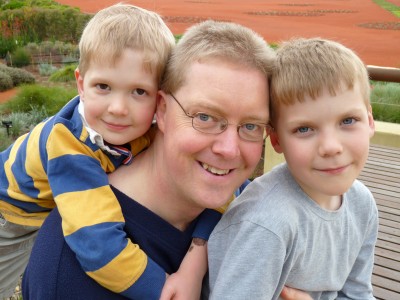
There isn’t a particular story behind this photo but it’s one of my favourites of my family. We went for a spur of the moment walk in the Australian Garden at Cranbourne and everyone was in a good mood. The light was lovely so we had the camera out taking a few pictures and had complete co-operation from everyone which is not always the case. My kids don’t usually like the intrusion of being asked to stay still for a photo – they’re just too eager to be active and doing something. Or they simply get bored with the idea of it. This time there was no agenda and no desperation to get a particular shot or document a particular occasion so it was more standing around hugging and grinning than posing. And the results blew me away. I love the warmth and the closeness of those three heads so close together. I love looking at the similarities and the differences in their features. And I love that they’re all looking back at me.
His awesomeness – who loves family photos – has never seen the point of scrapbooking. He likes things simpler and without fuss. But even he had to admit that there was something more to be gained, something more emotional about looking at this than looking at the original photo. Do you agree?
There’s another photo taken on the same day of me with the two boys and you can bet that’s going to get similar treatment before too long. I’ll be sure to share it with you when it does.
Cheers
Genna
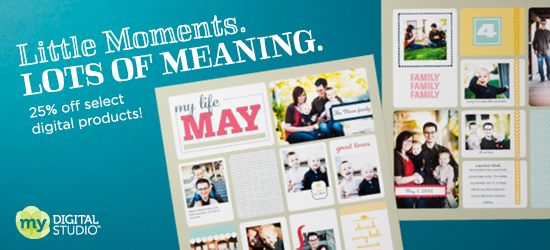
MDS Sale – Get 25% off downloads
To help celebrate the recent launch of My Digital Studio
(see this post for more information)
and to help get you started with your digital download collection….
GET 25% OF ALL ENSEMBLE, CALENDAR, PHOTOBOOK AND SWATCHBOOK DIGITAL CONTENT.
Must end June 15th!
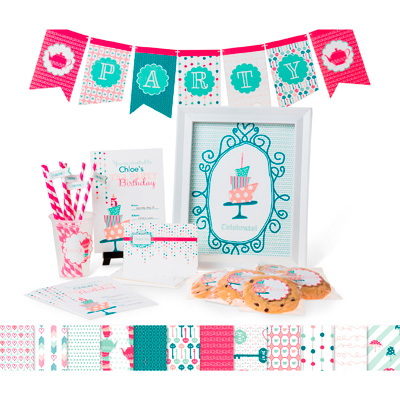
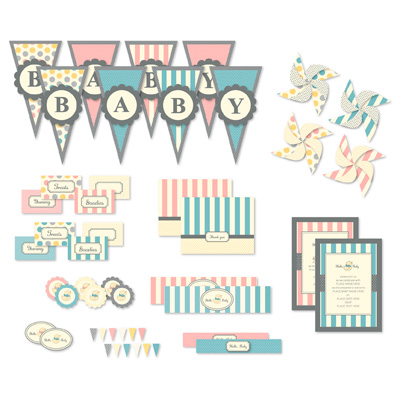
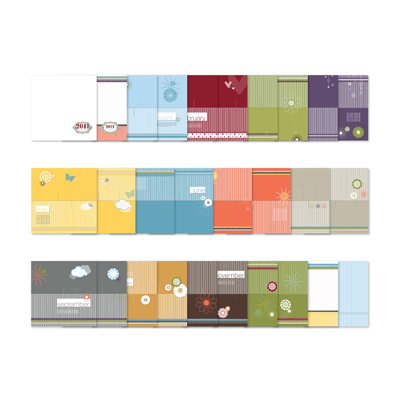
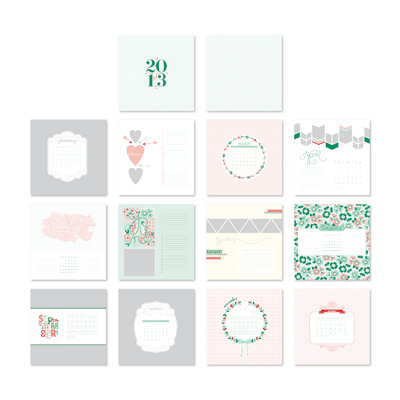
You won’t believe the amount you get in these kits! Here are just a few to whet your appetite:
Wonderland Party Ensemble
Hello Baby Ensemble
A Year In Review Photobook Template
Pencil It In 2013 Calendar Template
If you want to know more about MDS feel free to ask.
Cheers,
Genna
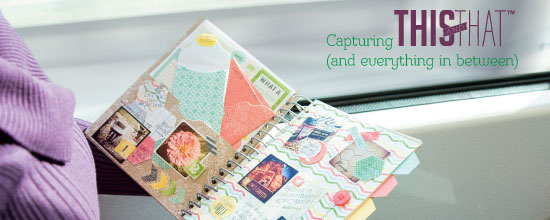
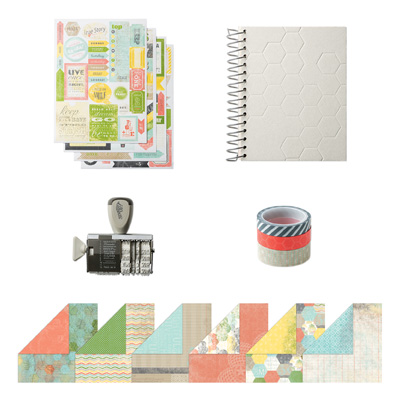
This & That Bundle
This & That is a new range of products from the upcoming new catalogue. This is your chance to get them early AND get a discount!
There are five products to start with but there will be more coming!
You can order any or all of these new products now but if you order all of them as a bundle you’ll get 15% off – BUT ONLY UNTIL THE END OF MAY!
To find out more about the products check out this video:
Click to view flyer
I’ll be ordering some really soon so I’ll come back and show you what I’ve done with them.
Cheers,
Genna
MAY CLASS – Razzleberry Splash Stack
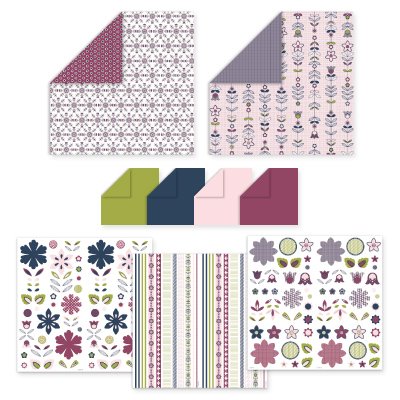
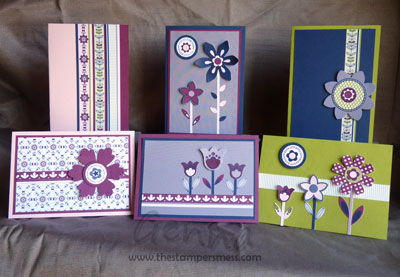
I’ve got something a bit different for the class this month – we’ll be experimenting with one of Stampin’ Up!’s Simply Scrappin’ Kits. These kits are great for scrapbooking but in this class we’ll use it to make cards. We’ll make a stack of projects all using the Razzleberry Splash kit and you’ll get to take the rest of the pack home to make more or to experiment with on your own.
The full kit (valued at $37.70 including delivery) is included in the $40 class fee and contains:
3 sheets of 12″ x 12″ cardstock stickers (1 of each design)
6 sheets of 12″ x 12″ patterned paper (3 of each design)
8 sheets of 12″ x 12″ cardstock (2 of each colour)
The gorgeous colours are Lucky Limeade, Night of Navy, Pink Pirouette and Rich Razzleberry.
THE CLASS PROJECTS USE LESS THAN HALF THE KIT
SO YOU’LL HAVE LOADS LEFT TO PLAY WITH!
Thursday 9th MAY
8pm – 11pm
NARRE WARREN
$40 per person (including kit)
OR
Friday 10th MAY
10am – 1pm
NARRE WARREN
$40 per person (including kit)
Children able to entertain themselves in the next room are welcome!
Get ready to be busy for this class because we’ll be making 6 full-sized cards…
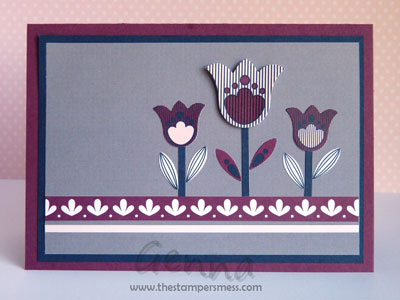
This is one of my favourites – the die-cut sticker sheets make it so easy. I especially like all the border strips!
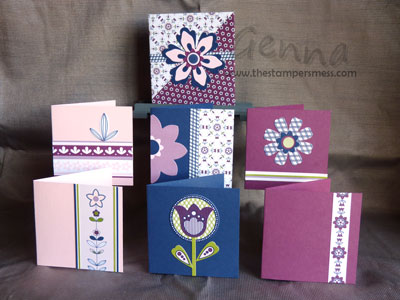
And if 6 cards wasn’t enough, we’ll also be making 6 mini cards…
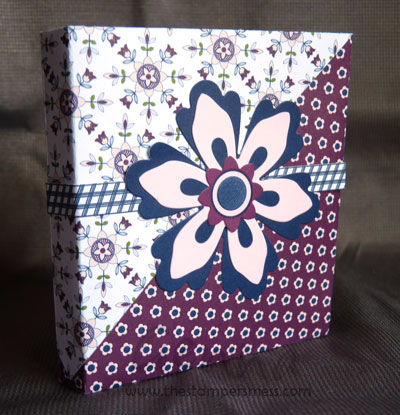
…as well as a cute little holder to keep them in.
It’s super easy and made by folding a single sheet of patterned paper. I came up with it while playing around with some paper scraps on my desk and I love that it doesn’t require any cutting or adhesive! Here’s the inside:
Cheers,
Genna


 Follow

