Santa’s List Pop Up Projects 1
I love, love, love, this stamp set from the current Holiday Catalogue. And I especially love to watercolour that jolly Santa image.
In my final 3D Stamp Club for the year (and for this round of the club, sob, sob) we made two projects featuring a watercoloured Santa. And both of them had pop up surprises.
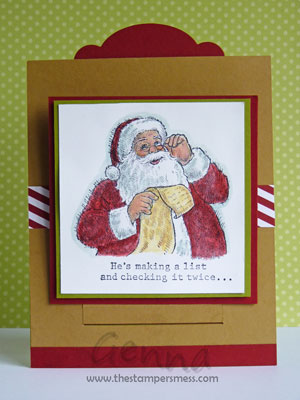
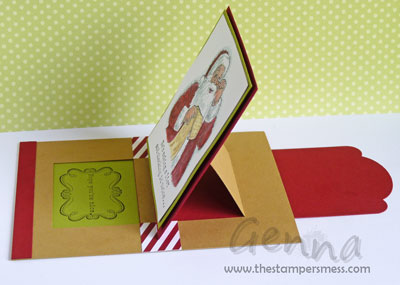
This card was the first one. Santa is so perfect for the feature the card barely needs any other embellishment at all.
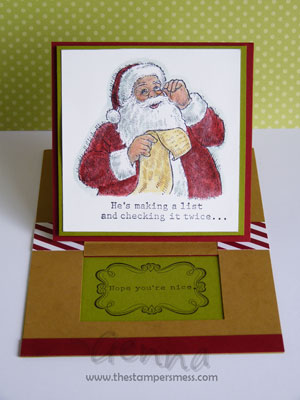
When you pull the tab at the top, Santa slides back to reveal the rest of the message…
And once it’s open you can leave it in place to display in easel mode or fold it flat to fit into an envelope.
You can write your message on the back or on the rest of that red tab so it too is revealed when the card slides into place.
I’ll be back shortly with the other project – there’s plenty more of Santa to see yet!
Cheers
Genna
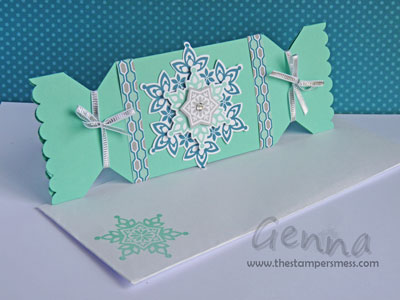
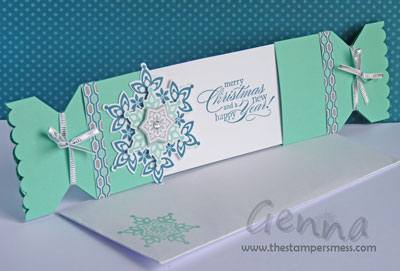
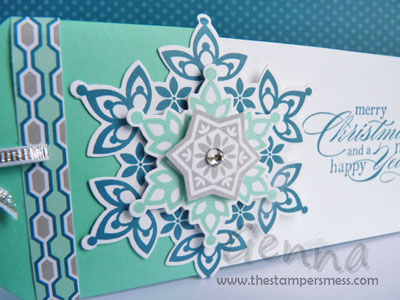
Festive Flurry Sliding Cracker Card
This Cracker Slider Card was designed as part of last month’s Stamp Club and has proved extremely popular. We even made a matching envelope using the Envelope Punch Board.
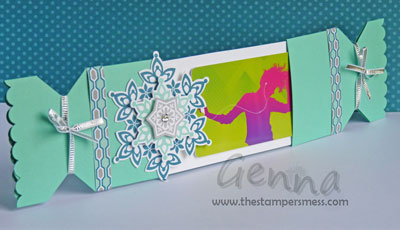
The card is quite a complicated and time consuming one to make but your efforts pay off by the bucketload when you see the look on someone’s face as they open it to reveal a hidden message.
Or you could hide a gift card in it for an even bigger smile!
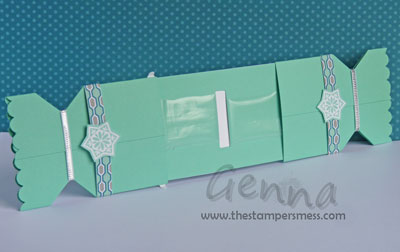
The secret to the smooth mechanism is….believe it or not…strips of plastic bag! You really have to get your hands on it in person to understand what I’m talking about but the movement of the ‘slider’ is so gentle and effortless and definitely not what you’d expect at all from a card.
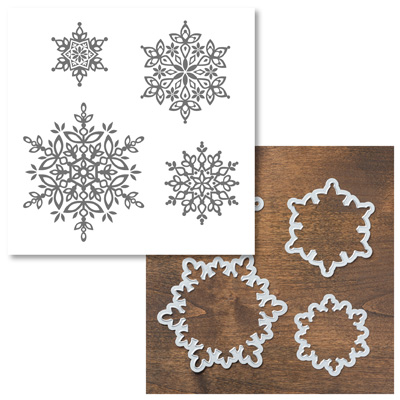
The decorative details were made using the Festive Flurry stamp set and matching framelits in the gorgeous cool colours from the Winter Frost papers in the Holiday Catalogue.
And here’s a final close up of that flurry on the front:
I’ve had a lot of requests to teach this in a general class but I’m afraid I just can’t fit it in before Christmas. If you like what you see though, let me know, and if I get enough interest I might just be persuaded to design a similar non-Christmas card for an upcoming class.
Cheers
Genna
Club Penguin Puffles Aplenty!
It was birthday time at our house once again and for Devon’s 8th birthday party he chose a Club Penguin theme. Well, more specifically, a Puffle Party theme. You might have to be the parent of an 8-year-old to understand what that is! Here’s a clue…
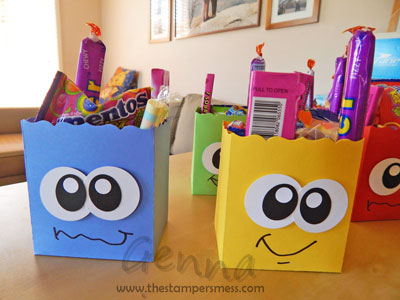
Puffles being round and fluffy I was a bit stumped about how to turn them into themed goodie bags for his party. So I took inspiration from Zane’s earlier Minecraft Party and thought outside the BOX!
We used the now retired Fancy Favour Box die and this time left the curvy edge on to represent the crazy hair. Then all that was needed were a couple of punched shapes for eyes and a hand drawn mouth. Devon loved them and so did his friends.
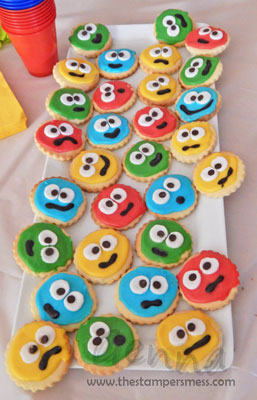
We carried on the Puffle theme with coloured Puffle Cookies…
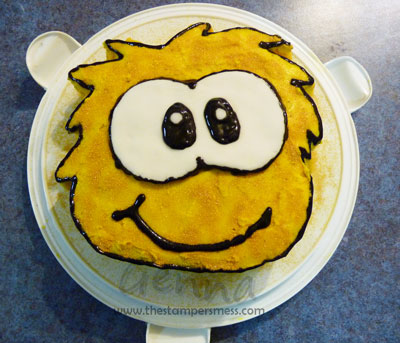
And of course a Golden Puffle cake! I thought this was going to be a disaster – why on earth did I think I could ice such jagged edges without it falling apart! But we got there in the end and the last minute addition of the black outlines saved the day. Although I thought they were going to melt away and start dripping down the cake! Here’s the end result:
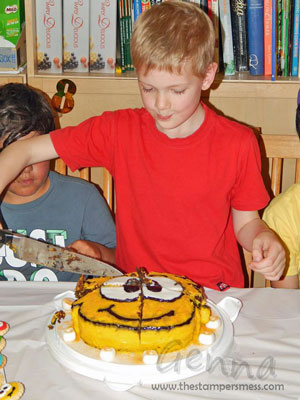
…which Devon took great delight in massacring when it came time to take a knife to it!
I do love working with the boys on their birthday themes. And I will be rather surprised if I don’t find myself working on at least one Doctor Who themed party next year! All ideas gratefully accepted.
Cheers
Genna
More Washi Tape ideas
I’m still having fun playing with Washi Tape and thought I’d share a few more things I’ve tried out. First up are some fridge magnets:
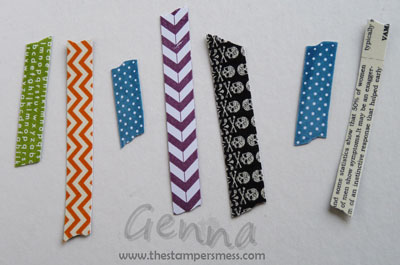
I had some photo paper with a magnetic backing, designed to go in my printer, so I just stuck some strips of Washi tape on it and carefully cut around the edges. The result is strip magnets that are strong enough to hold single pages of paper on my fridge. It looks like I’ve used Washi to tape the paper up there but of course I can use just the one piece over and over again.
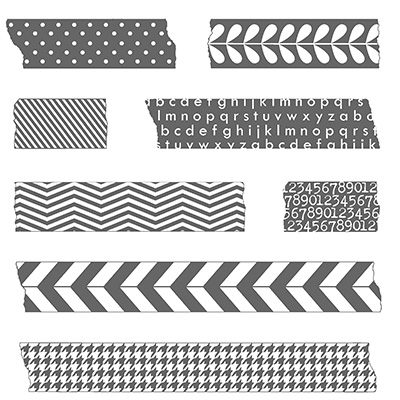
I wanted some magnets in colours that we don’t yet have in Washi Tape so I used the Tape It Stamp Set (given to me straight off the production line at the factory in Utah) to stamp directly onto the magnet paper in whatever colour I chose. And you just cut it out with paper snips. So simple!
Another great use for Washi Tape is to attach vellum:
This fantastic medium is notoriously difficult to adhere because you can see right through it. This & That Washi Tape to the rescue! Now my Joy To The World stamped sheet sits so nicely on top of my Pretty Print embossed background.
And finally, here’s one I was just having fun playing with to see how it went together. I used the Gingham Garden and This & That Washi Tape sets. I’m not entirely happy with the end result but I did love the discovery that you can stamp directly onto the Washi Tape surface!
Cheers
Genna
Home Office Make & Takes
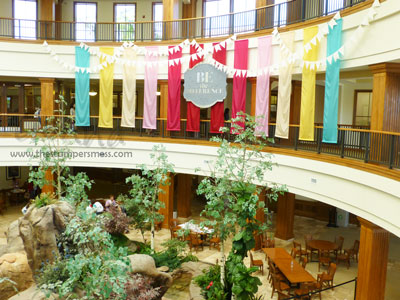
Back in July when I visited the Home Office in Utah we got the chance to sit under the atrium and get creative. There were four Make & Take projects, with plenty of fantastic new ideas to keep us busy – and a bunch of free products for us to keep! I said back in August that I’d show you them so it’s about time I did.
All the projects featured one of the Hostess sets from the Holiday Catalouge:
Perfectly You Hostess Set
Wood (131874) $21
Clear (131877) $17
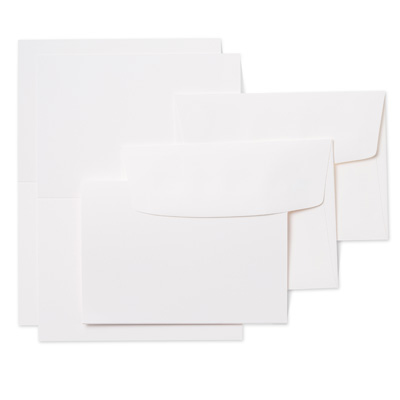
And all projects also made use of the new Whisper White Notecards & Envelopes in a variety of creative ways.
Whisper White Notecards & Envelopes
(131527) $9.95
Cards 12.7 x 8.9cm, Envelopes 13 x 9.2cm
20 of each
The first project I made was a little sleeve and four mini cards:
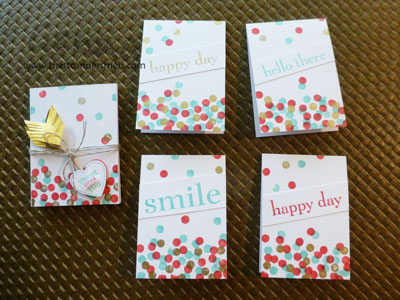 And here it is all closed up:
The next project was actually the first time I had a go with Washi Tape. And, as you can see, this one inspired one of the projects in my August class:
This is what it looks like all closed up:
The final project I made I actually had to finish off when I got home. I got the stamping and masking done but I hadn’t cut things out or assembled it.
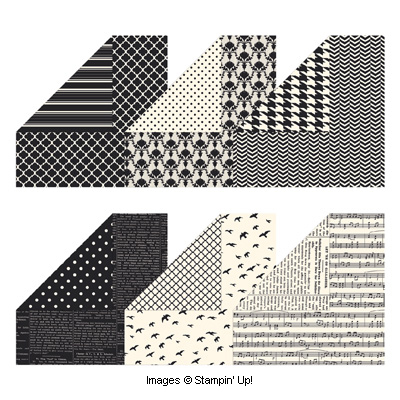
My favourite thing about this project was the discovery that you can make the Basic Black/Very Vanilla papers in the Modern Medley pack match any project you like simply by sponging colour over the Vanilla sections. Brilliant!
Modern Medley DSP
(126926) $18.95
12″ x 12″. 2 sheets ea. of 6 double-sided designs.
And the fourth Make & Take I’m afraid I have no idea about. I think it was some sort of box but I didn’t even get anywhere near that table!
Cheers
Genna
Frosted Finishes Jewellery
I just had to share how easy it is to turn our new Frosted Finishes embellishments into jewellery.
Making these earrings was as simple as using a pair of pliers to add a pair of hooks. And I’ve had comments on them every time I’ve worn them!
Who do you know who would love a pair of these in a handmade gift box for Christmas?
Frosted Finishes Embellishments
(132150) $11.95
12 pieces. 1.9cm
I promise you, photos do not do these little gems justice!
And with each one only costing about $1 and earring hooks easily available in craft shops for even less, you could churn out 6 pairs for under $15! Wow!
Send me some photos of your creations using these adorable little things!
Don’t forget you can get your hands on them in real life at my Winter Frost class this week!
Gorgeous Grunge Love
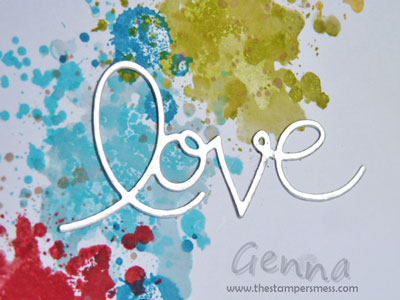
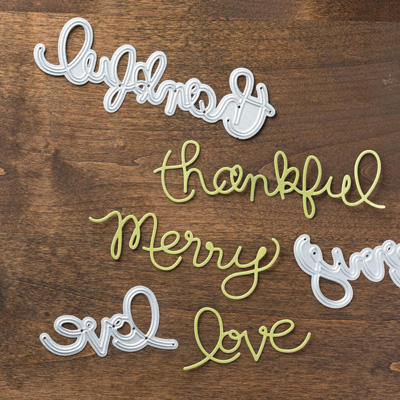
I’m in love with the new Expressions Thinlits Dies in the Holiday Catalogue! It makes it so easy to cut out a greeting with the Big Shot. The set has three words so you can choose from ‘love’, ‘thankful’ or ‘merry’!
I’ve seen lots of tips where they suggest putting a sheet of wax paper between the die and the cardstock to make it easier to get out. I haven’t tried this but I have to say I didn’t find it too tricky to get out anyway. The dies all have little holes in them and if you gently poke through with a toothpick, a paper piercing tool or even the end of your paper snips it releases it enough for you to gently coax the diecut out. I think the trick is to be patient and not expect it to jump out on it’s own.
I can tell already that my set is going to be getting a good workout!
Expressions Thinlits Dies
(132171) $42.95
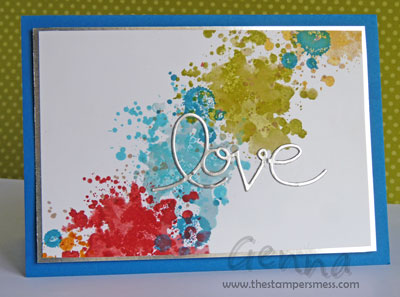
This card was made for his awesomeness for our recent 12th Wedding Anniversary. I wanted something bright and featuring blue, green and silver – our wedding colours. The greeting is from our new silver foil sheets – I cut several from the middle of the mat so that nothing was wasted!
THE PRINTABLE PHOTO RECIPE CARD IS AVAILABLE TO MY NEWSLETTER SUBSCRIBERS. Subscribe for free today and let me know you’d like this one.
To get the extra colour from the Gorgeous Grunge stamping I spritzed the stamp with water before stamping each colour once, then dried it all off and stamped the matching colour again over the top. It was just the look I was after.
Gorgeous Grunge
(130514) Wood $42.95
(130517) Clear $33.95
If you like what you see, feel free to share, or leave me a comment.
Cheers
Genna
Washi Tape Take Two
While designing this month’s Washi Tape class I tried out all sorts of ideas, including a couple of variations on the cards we ended up doing. I thought you might like to see what the alternatives were.
There was this variation on the Pocket Card:
This version uses the Six-Sided Sampler stamp set and the Hexagon punch with the This & That Washi Tape.
Here’s a reminder of the class card using Flower Shop and the Pansy punch:
And in the class we made this card using Tape It and the Witches’ Brew Washi Tape:
And here’s a Shaker version of the same card:
This time I used the Washi Tape to add a layer of Window Sheet over the feature panel and sprinkled in some Champagne Glass Glitter to shake around inside it!
Cheers
Genna
Dictionary Dad!
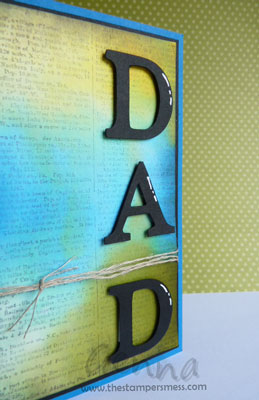
I had lots of fun experimenting to make this card for my dad for Fathers’ Day. I had no idea what I’d end up with when I started out but I wanted to have play with making a background using reinkers and water.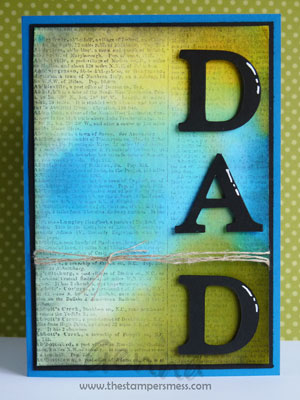
THE PRINTABLE PHOTO RECIPE CARD IS AVAILABLE TO MY NEWSLETTER SUBSCRIBERS. Subscribe for free today and let me know you’d like this one.
I simply dropped a few droplets of Tempting Turquoise, Old Olive and Daffodil Delight ink onto a piece of Whisper White cardstock then spritzed it repeatedly with water. And I mean repeatedly! The droplets were diluted and blown around the cardstock, merging and mottling as they went. The cardstock got so wet I had to dry it off with a heat gun. And the colours soaked through so much that there was no longer an identifiable difference between back and front!
Word of warning, this is one messy process!!!!! The ink splatters up from the card when you spritz it, it soaks through everything and you get very inky fingers if you touch the wet cardstock.
I really wish I’d taken a photo of the background piece before I’d done anything else to it because it really didn’t look like much. A bit of a murky mess with some bright patches here and there. I nearly ditched it as a failure. But, as I’m always telling people, you should NOT judge a background before it has a foreground. You’ll never be happy with it while you’re focusing on the imperfections that will disappear once there’s something else to catch your eye. So I thought I’d better give it a chance. And that’s where Dictionary came to the rescue.
Dictionary
(130348) Wood $30.95
(130351) Clear $24.95
To turn this mess into a card I simply stamped the fabulous Dictionary stamp in stamped off Basic Black ink, then added some sponged edges, some Big Shot letters and some twine. With a tiny bit of White Gel Pen to finish.
I was really pleased with the colourful, masculine, card that came out of it. And I think Dad was too. Even though he forgot why I would be giving him a card at all!
Cheers
Genna
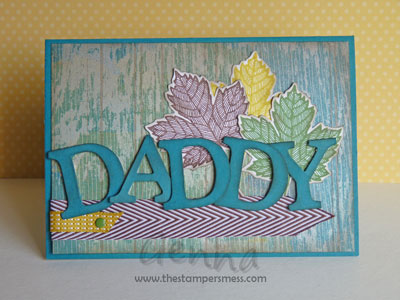
Magnificent Maple Daddy
THE PRINTABLE PHOTO RECIPE CARD IS AVAILABLE TO MY NEWSLETTER SUBSCRIBERS. Subscribe for free today and let me know you’d like this one.
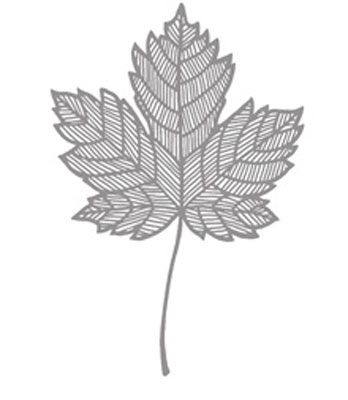
One of the perks of being above Manager level with Stampin’ Up! is that I get a free bundle of goodies every time a new catalogue comes out! My Holiday Catalogue bundle included Magnificent Maple. I’ve been missing my favourite French Foliage so I was more than happy to get a leaf replacement!
Magnificent Maple
Wood (131868) $16.95
I made this card for my boys to give to their Daddy on Fathers’ Day. Wonder Hubby is an outdoorsy type of guy and loves nature images. And he’s British with an affinity with the US so I felt completely justified in using Northern Hemisphere imagery on a card made in Spring!
Cheers
Genna
Diamond Fold Cards and Scrunchy Flowers
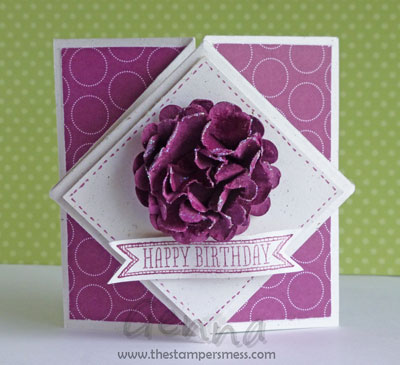
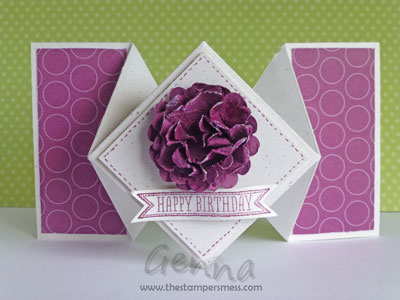
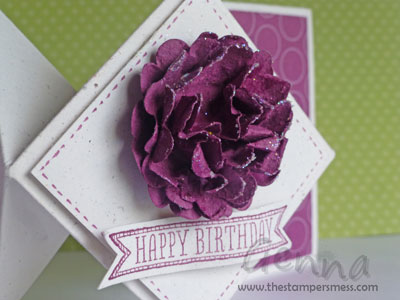
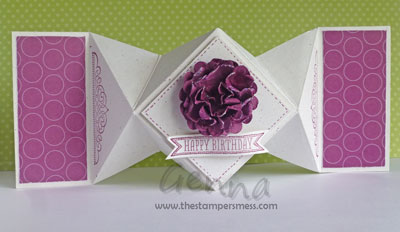
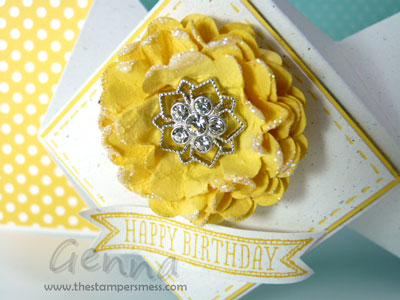
At Stamp Club this month one of our projects was a Diamond Fold card:
This looks like a complicated fold but once you get down to it, it really isn’t. But it certainly looks amazing!
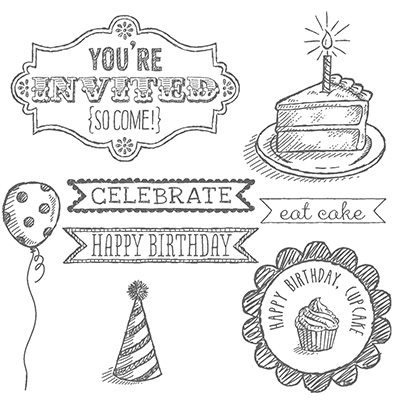
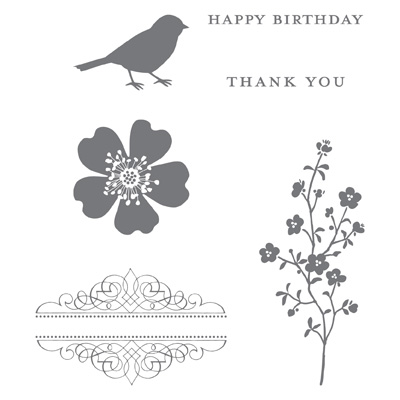
I used the Sketched Birthday set for the greeting. You can make things easier on yourself by using the matching Bitty Banners framelits to cut it out with the Big Shot.
Sketched Birthday
Wood (130423) $42.95
Clear (130426) $41.95
The scrunched flower is made using the 1-3/4″ Scallop Circle punch and breaking down the fibres with a bone folder before separating the layers and scrunching them up together to give it depth. And then a little glitter to highlight.
You can just see in the inner folds the stamp from the Morning Meadow hostess set. This comes as one stamp but because I got this set in clear mount I was able to cut the rubber in half. This means I can use each half separately, as I have here, or mount them together on a clear block and use them as intended.
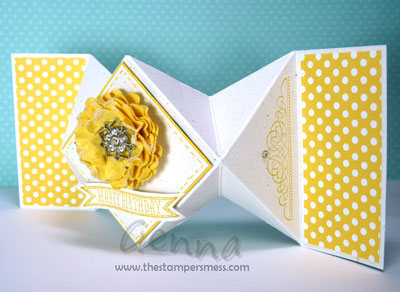
And then I made a bright, sunny Daffodil Delight version for my mum’s birthday!
THE PRINTABLE PHOTO RECIPE CARD IS AVAILABLE TO MY NEWSLETTER SUBSCRIBERS. Subscribe for free today and let me know you’d like this one.
It was very similar except this time I added one of our new Frosted Finishes Embellishments to the centre of the scrunchy flower.
Frosted Finishes Embellishments
(132150) $11.95
12 pieces. 1.9cm
Cheers
Genna
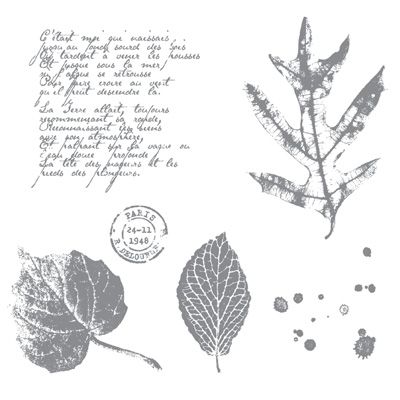
Farewell French Foliage!
One of my absolute all time favourite stamp sets is retiring. And I’m not happy about it! The good news is that it’s on special!
Wood (123557) $34.95
Clear (121166) WAS $27.95 NOW $20.96
When I first saw this set in the catalogue I really didn’t think much of it. It’s one of those sets that you need to see in use before you can see its potential. And wow what potential it had. Even when I wasn’t using it for the leaves, the splats and the words made fantastic backgrounds and fill-in features. It’s been one of my go to sets for a couple of years now. In fact I had to start making myself not use it just so I got some variety in my creations and my other stamps got a look in. But now it’s time for it to go. I know I’ll still be using it for my own purposes but I’ll be sad that it won’t get to come on outings to workshops and classes with me.
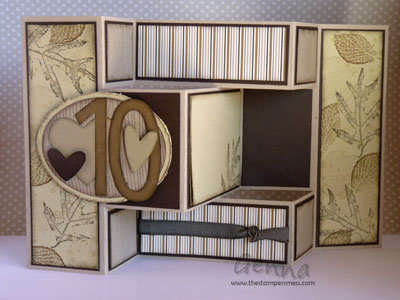
Here’s a look back at some of the fun we had…
Teamed with the Mixed Bunch flowers
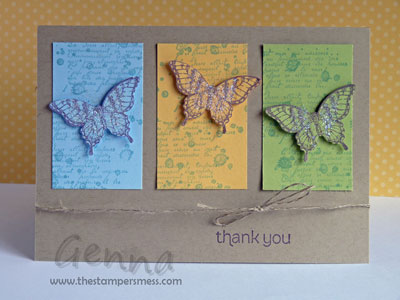
Teamed with butterflies
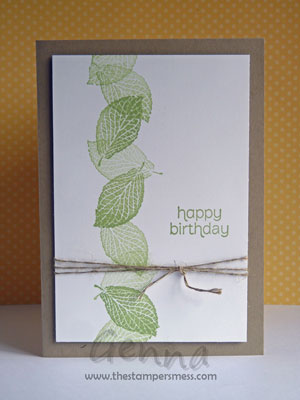
Just one leaf and one colour stamped off for variation
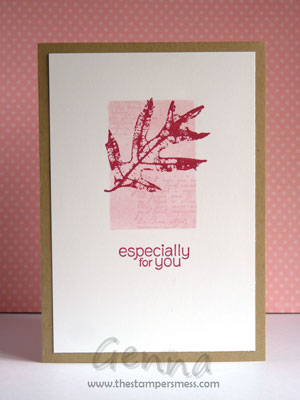
Masked ‘especially for you’
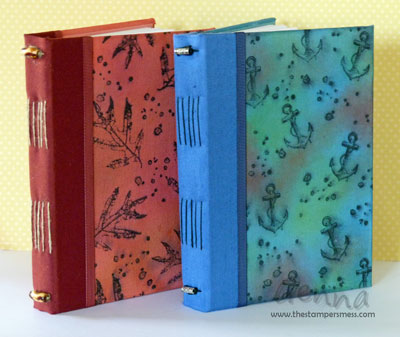
Splats on book covers
In greens
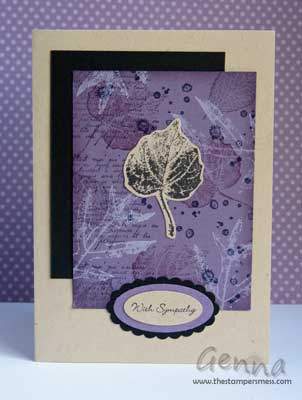
On a special card
And this one I didn’t even make
– it was wonder hubby’s first attempt at card-making!
So I know I’m not the only one drawn to this set.
And the kids got in on the act too…this one is Devon’s.
Oh, I love these drips/splats/whatever you want to call them!
Just the words this time, but don’t they make a fantastic background!
Minecraft Birthday Party
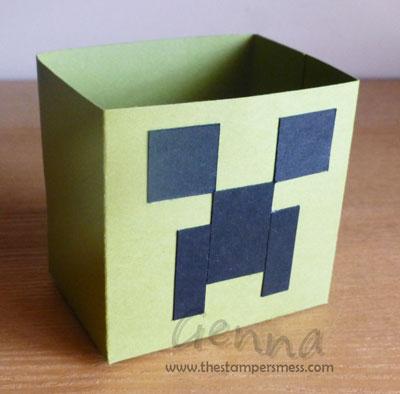
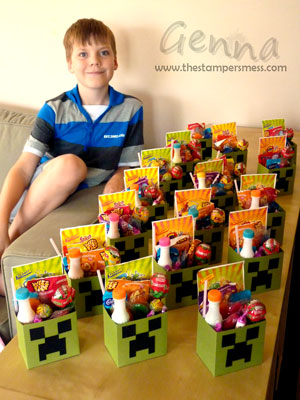
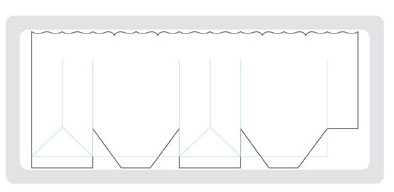
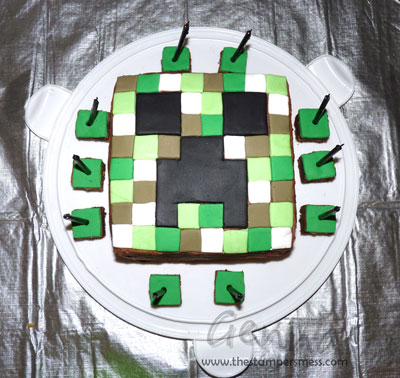
For Zane’s recent 10th Birthday he was determined to have a Minecraft-themed party. This scared me at first because apart from knowing it was his obsession I really didn’t know that much about it. It was a great relief to quickly realise that it’s all about building with blocks – yes, I know there’s much more to it than that but for decoration purposes that’s all I needed to know! Once I had my head around it the ideas quickly flowed – and I realised that the Fancy Favour Box Big Shot die would make the perfect themed gift boxes.
THE PRINTABLE PHOTO RECIPE CARD IS AVAILABLE TO MY NEWSLETTER SUBSCRIBERS. Subscribe for free today and let me know you’d like this one.
Zane wanted to be involved so we made his ‘Creeper’ boxes together. We cut off the fancy trim – beautiful though it is it just didn’t cut it for a 10-year-old boy! And we set to using the Big Shot to mass produce some boxes. I think he was a bit surprised that Stampin’ Up! could be so helpful with his Minecraft theme! Between us were were done in a few minutes and all we had to do was cut some Basic Black cardstock to stick on as faces. Oh, and fill them with loads of sugar!
It’s such a shame this die has made it onto the retired list – it’s really incredibly versatile. But the good news is it’s discounted by 25% so get in quick to get yours at a bargain price!
Fancy Favour Bigz XL Die – RETIRING SOON
NOW 25% OFF
(115965) WAS $69.95 NOW $52.46
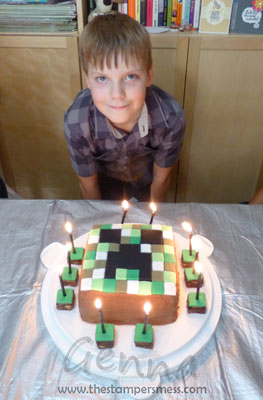
Keeping the theme going, I also made a ‘Creeper’ cake. This one I did by myself and it was a surprise for Zane on the actual day!
I think he liked it. Here’s a closer look…
I did have grand plans for all sorts of other decorations such as creeper balloons and cups but as usual time got away from me and we settled for printing out some decorations for the walls and going with various shades of green for everything else.
So, if there’s anyone out there who is either a Minecraft addict like my son, or has kids who are, I’d love to hear what you think.
Cheers
Genna
Pinwheel Die Spinner Card
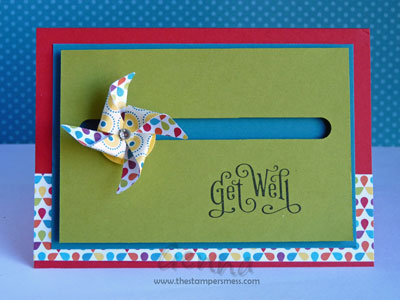
This month at my 3D Template Stamp Club we made a Spinner Card.
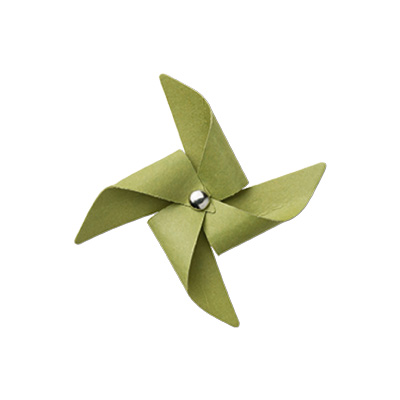
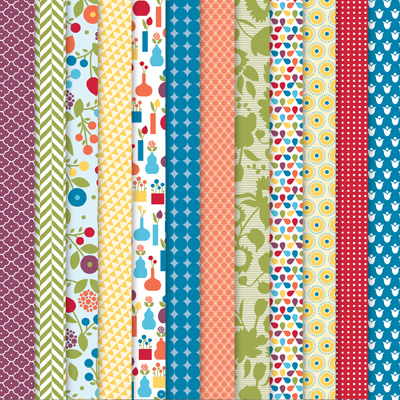
These are fun, interactive cards that you just can’t put down. For this one I used the Pinwheel Die from the Seasonal Catalogue and paper from the Summer Smooches DSP.
I decided to make it a Get Well card (using Perfectly Penned) because I could imagine giving it to someone in hospital who might play with it to pass the time.
The spinning mechanism is made by making a sandwich out of coins and dimensionals and cutting a track in the card for it to run on.
The way it spins is something that has to be seen to be believed so I’ve made a very short little video to show you:
Pinwheel Sizzlits Die (129411) $8.95
Summer Smooches DSP (125409) $18.95
Perfectly Penned – Wood (125014) $28.95 or Clear (122892) $22.95
If you’d like to learn to make project like this one, consider joining one of my Stamp Clubs.
Cheers
Genna
Pleasant Poppies for Mother’s Day
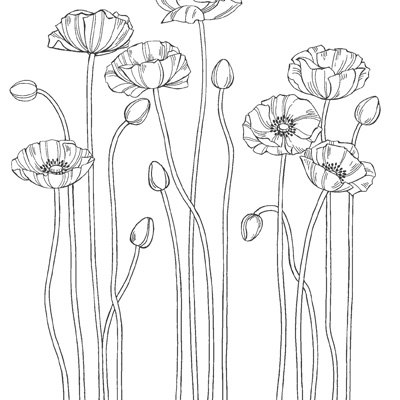
This stamp didn’t grab me when I first saw it but I started seeing some really striking things made with it and it quickly grew on me. Now I can see so much potential for the things I’m going to make with it. It’s strange how sometimes you know immediately that a stamp set is for you and other times you need to see it in use before it jumps out at you. This one is a single large background stamp called Pleasant Poppies.
Pleasant Poppies Wood $30.95 or Clear $24.95
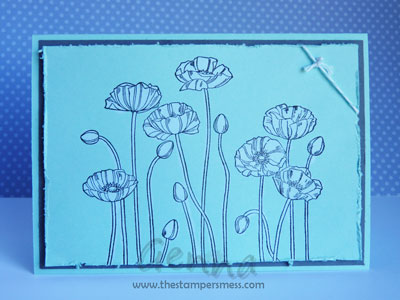
The first time I used it I stamped it on Pool Party cardstock and bleached it. I’d intended to colour it in with crayons afterwards but I really liked the simplicity of the two-tone look so I left it plain and simple.
THE PRINTABLE PHOTO RECIPE CARD IS AVAILABLE TO MY NEWSLETTER SUBSCRIBERS. Subscribe for free today and let me know you’d like this one.
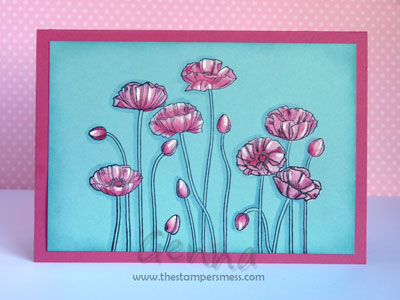
But I still wanted to try out colouring it so I tried again, this time on Baja Breeze cardstock. This bleached the image back to white so it was really easy to add the colour back in. And those final highlights with the white gel pen really make this one.
THE PRINTABLE PHOTO RECIPE CARD IS AVAILABLE TO MY NEWSLETTER SUBSCRIBERS. Subscribe for free today and let me know you’d like this one.
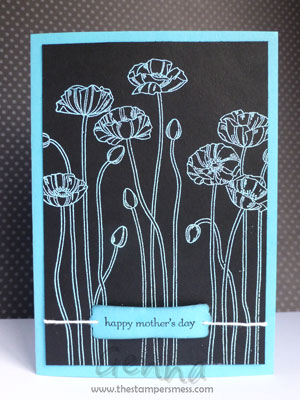
I knew my mum would like the poppies – she’s a flower person but not a floral one if that makes any sense. She definitely appreciates flowers but her tastes aren’t traditional florals. So I set out trying to come up with a design for her Mother’s Day card using this stamp set. I was really thrilled with how the coloured embossing on black turned out. Simple yet striking and just the look I was after.
THE PRINTABLE PHOTO RECIPE CARD IS AVAILABLE TO MY NEWSLETTER SUBSCRIBERS. Subscribe for free today and let me know you’d like this one.
If you like what you see, please leave me a comment and let me know.
Cheers,
Genna
Topsy Turvy Celebrations for a Princess
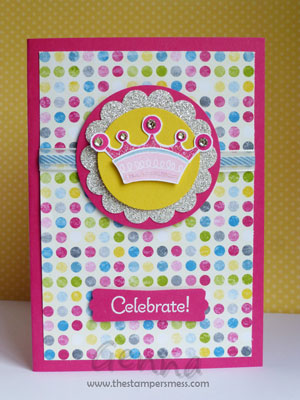
I needed to make a 7th birthday card for my niece recently and realised I was lacking in pretty little girl images. Olivia is a definite girly girl and we had a Disney Princess present so it had to be something pink and girly. I had plenty of flowers and butterflies to choose from but I just couldn’t make them work this time. And because I’ve only got boys, the whole girly thing was feeling a bit out of my comfort zone.
And then I remembered Topsy Turvy Celebration!
 Topsy Turvy Celebration Wood $30.95 or Clear $24.95
This cute little set has multiple pieces that are designed to go together in all sorts of topsy turvy ways! You can make a cake or a skirt or a…crown!
THE PRINTABLE PHOTO RECIPE CARD IS AVAILABLE TO MY NEWSLETTER SUBSCRIBERS. Subscribe for free today and let me know you’d like this one.
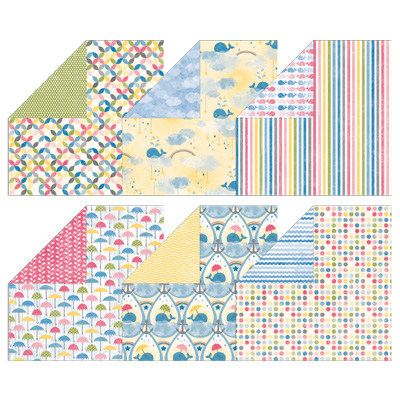
And I also got to use the lovely bright papers from the Seasonal Catalogue – these have to be seen in real life to really appreciate how gorgeous they are.
Sunshine & Sprinkles DSP $18.95
I hope she liked her card – like any excited birthday girl she was a bit to caught up in the presents to give it much attention on the day.
Cheers,
Genna
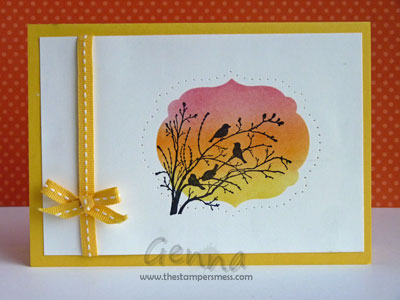
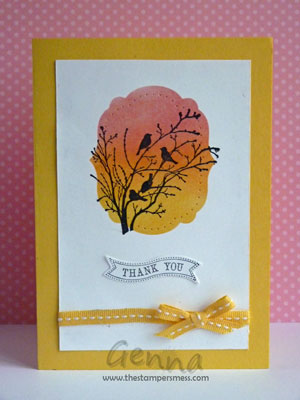
Serene Silhouettes at sunset


His Awesomeness Stamps
Would you believe that his awesomeness had never stamped before? In five years of me being a demonstrator I don’t think he’s ever put ink to rubber, let along make a whole card by himself.
Well that’s all changed now. And here’s the proof!
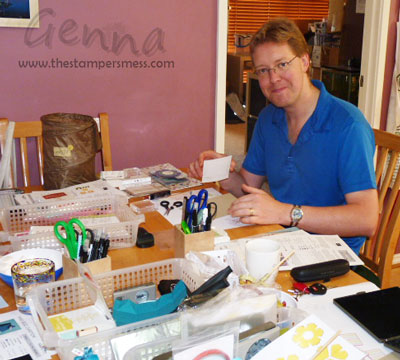
It was Mother’s Day in the UK yesterday and since his mother is visiting from England he decided he should mark the day in style. And because I had some lovely ladies over for a class and had all the supplies out he took us by surprise and joined us at the table. It was certainly a novelty and caused much amusement.
But… although we mocked, what he created was rather impressive. It might have been based on one of my designs but the work was all by his own fair hands.
And it was very much appreciated and enjoyed by his mum. And that’s what counts. Mr Awesome strikes again!
I’m sure the Wonder Husband would appreciate a few comments on this one – go on, you know you want to.
Cheers
Genna
Never-ending Card for My Wonder Husband
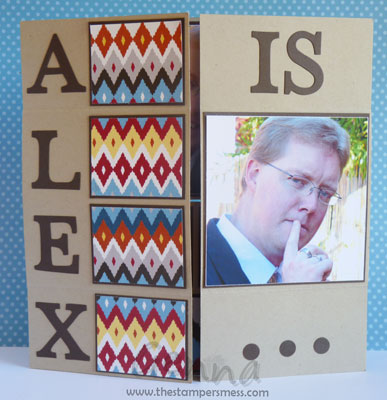
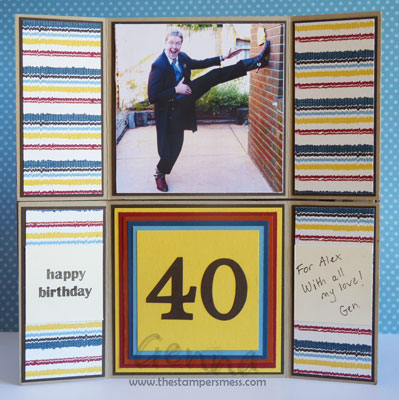
His awesomeness turned 40 a few days ago so I had to make a special card. I chose a never-ending one! I’ve only made one of these before – in my pre-Stampin’ Up! days. They’re super easy and so much fun. I’ll be teaching my 3D Template Stamp Club how to make this type of card in our final class next month.
THE PRINTABLE PHOTO RECIPE CARD IS AVAILABLE TO MY NEWSLETTER SUBSCRIBERS. Subscribe for free today and let me know you’d like this one.
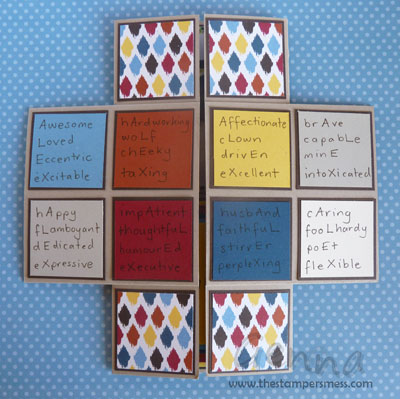
The card has four ‘sides’ and no back. Each panel has a unique way of opening.
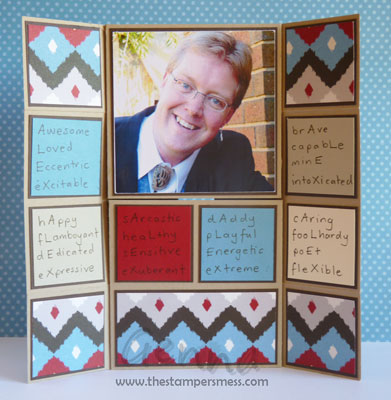
Each time you try to look inside you find yourself cycling through all four sides…never reaching the end.
I filled each of the squares with words to describe Alex. Each square has a four words, containing the letters A, L, E & X. And there are 10 squares so 40 words in total.
It’s impossible to use still photos to show how the card actually folds so my son Zane and I created a video. Click on it below and see the magic for yourself.
So what did my Wonder Husband do to mark his big day? See if this photo gives you a clue:
Yep, you guessed it. He jumped out of a plane at 14,000 feet! And I was more nervous about him doing it than he was.
Happy Birthday Alex!
 Follow

